

Canning venison is a fantastic way to preserve this lean and flavorful meat. Not only does it extend the shelf life, but it also offers a delicious way to enjoy venison all year round. In this comprehensive guide, we will explore everything you need to know about canning venison, from methods to recipes, ensuring you can enjoy this nutritious meat with ease.
Table of Contents
Introduction to Canning Venison
Canning venison is gaining popularity among hunters and home cooks alike. This method not only preserves the meat but also enhances its flavor. Moreover, canning allows you to store venison for extended periods without the need for freezing.
Benefits of Canning Venison
The benefits of canning venison are numerous. First and foremost, you can enjoy the advantages of a sustainable food source. Canned venison is rich in protein and low in fat, making it an excellent option for healthy meals. Additionally, it is convenient; simply open a jar, and you have a ready-made meal or ingredient for various recipes.
Overview of the Canning Process
The canning process involves several steps. Initially, you prepare the venison by cutting it into manageable pieces. Next, you can use either a pressure canner or a hot water bath method, depending on your preference. Each method has its own set of instructions, and understanding these is crucial for successful canning.
Importance of Safe Canning Practices
Safety is a top priority when canning venison. Utilizing proper techniques helps prevent spoilage and ensures that the meat remains safe to eat. Be sure to follow guidelines from trusted sources to maintain quality and safety throughout the canning process.
Canning Venison without Pressure Cooker
For those looking to can venison without a pressure cooker, the hot water bath method is a reliable alternative. This technique is straightforward and requires minimal equipment.
Understanding the Hot Water Bath Method
The hot water bath method involves submerging jars of prepared venison in boiling water. This process effectively seals the jars and preserves the meat. However, it’s essential to understand that this method is suitable for high-acid foods. Since venison is low in acid, it’s crucial to follow specific guidelines.
Equipment Needed for Hot Water Bath Canning
Before you start canning venison without a pressure cooker, gather the necessary equipment:
- Canning jars: Use high-quality jars designed for canning.
- Lids and bands: Ensure they are in good condition for a proper seal.
- Large pot: A pot deep enough to submerge the jars completely.
- Jar lifter: This tool is essential for safely handling hot jars.
Step-by-Step Instructions
Preparation of Venison
Begin by cutting the venison into small cubes or strips. Clean the meat thoroughly, and trim off any excess fat. This step is vital because fat can spoil more quickly than lean meat.
Packing the Jars
Next, pack the prepared venison into the jars. Leave about one inch of headspace at the top. This space allows for expansion during processing. You can add salt if desired, but it’s optional.
Processing Time and Temperature
Once the jars are packed, place them in the hot water bath. The water should be at least one inch above the jars. Process the jars for about 90 minutes, adjusting for altitude as necessary. After processing, allow the jars to cool completely before checking the seals.
Old Fashioned Canned Venison Recipes
Old fashioned canned venison recipes often bring warmth and nostalgia. These recipes are not only delicious but also showcase the versatility of canned venison.
Traditional Methods of Canning Venison
Traditional methods include various recipes that highlight the natural flavors of venison. Below are a few classic recipes you might enjoy.
Recipe 1: Old Fashioned Venison Stew
This stew combines canned venison with potatoes, carrots, and herbs. The result is a hearty meal perfect for cold evenings.
Recipe 2: Venison and Vegetable Medley
This recipe features canned venison paired with seasonal vegetables. It’s a quick and nutritious meal that is easy to prepare.
Recipe 3: Spicy Venison Chili
A spicy venison chili is a great way to enjoy canned meat. The bold flavors of chili spices complement the venison beautifully.
By exploring these methods and recipes, you can make the most out of your venison.
Ball Canning Venison: A Trusted Method
When it comes to canning venison, Ball canning methods are highly regarded for their reliability and effectiveness. This approach not only simplifies the process but also enhances the quality of your canned meat.
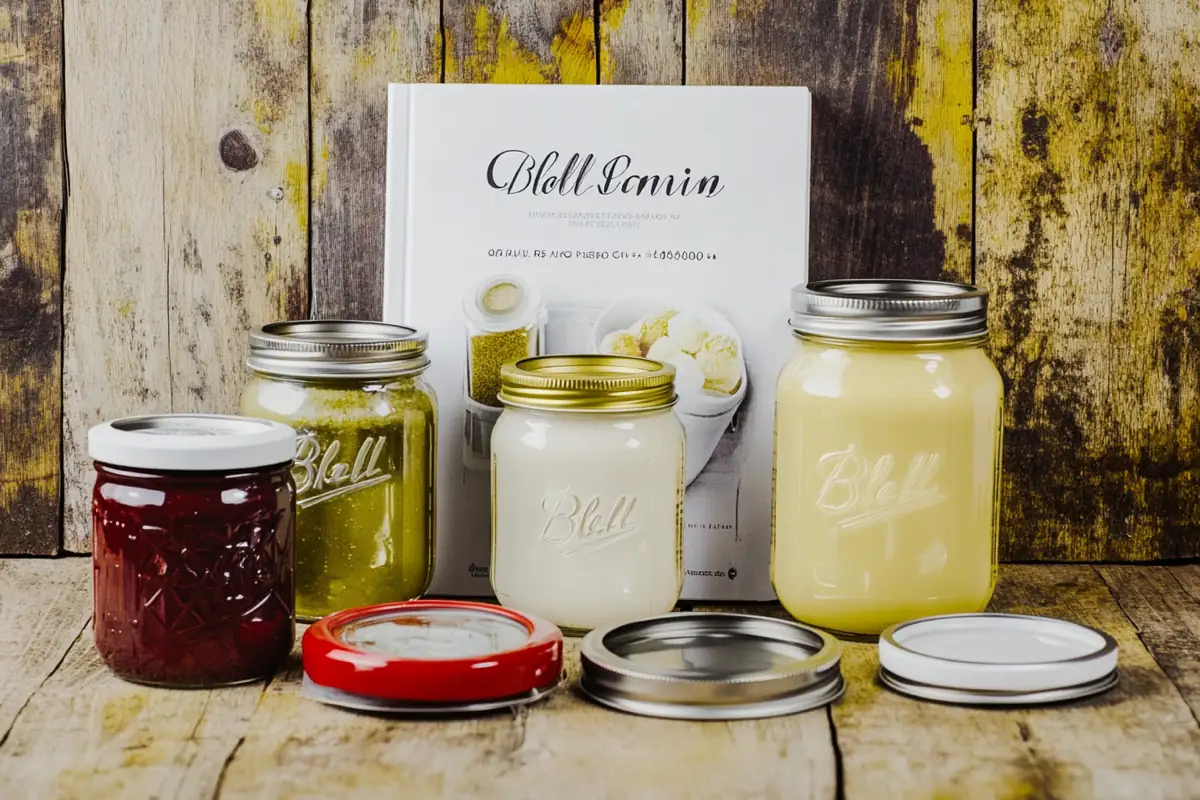
Overview of Ball Canning Supplies
Before you start, it’s essential to gather the right supplies. Ball canning products are designed specifically for home canning, ensuring safety and quality. You will need:
- Ball canning jars: These are sturdy and designed for pressure canning or hot water bath methods.
- Lids and rings: Opt for new lids each time for a better seal; rings can be reused as long as they are in good condition.
- Canning tools: A jar lifter, funnel, and bubble remover can make the process easier and safer.
Selecting the Right Jars
Choosing the right jars is crucial for successful canning. Ball offers a variety of jar sizes, allowing for flexibility based on your needs.
- Pint jars: Ideal for small servings or single meals.
- Quart jars: Perfect for larger batches or family-sized portions.
Regardless of the size, ensure that the jars are free from cracks and chips to maintain a proper seal.
Recommended Ball Canning Recipes
Ball canning recipes are tried and true, making them an excellent choice for beginners and experienced canners alike. Here are a couple of recommended recipes:
Classic Ball Venison with Herbs
This recipe is simple yet flavorful. It involves packing venison with your choice of herbs and spices, resulting in a savory dish that can be enjoyed straight from the jar.
Ball Canned Venison in Gravy
A comforting option, this recipe includes venison cooked in a rich gravy. It’s perfect for serving over rice or mashed potatoes, creating a hearty meal.
Tips for Successful Ball Canning
To ensure your canning experience is smooth and successful, consider the following tips:
Avoiding Common Mistakes
- Do not skip sterilization: Always sterilize your jars before filling them. This step eliminates bacteria that could spoil your food.
- Check seals: After processing, ensure that the lids are sealed properly. A sealed lid will not flex up and down when pressed.
Storing and Labeling Canned Venison
Proper storage and labeling are essential for maintaining the quality of your canned venison. Store jars in a cool, dark place to prevent deterioration.
- Label each jar: Include the contents and the date of canning. This information will help you track freshness and usage.
Nutritional Benefits of Canned Venison
Canned venison is not only convenient but also packed with nutritional benefits. Understanding these can help reinforce your decision to can venison at home.
High Protein Content
Venison is one of the leanest meats available, making it an excellent source of protein. Each serving provides essential amino acids necessary for muscle repair and overall health.
Preserving Nutrients through Canning
Canning venison effectively locks in many of its nutrients. Although some vitamins may be lost during the heating process, most minerals remain intact. Thus, canned venison is a nutritious addition to your pantry.
Canning venison is a rewarding process that can enhance your meals while providing a sustainable food source. With the right techniques and recipes, you can enjoy this delicious meat in a variety of ways. The next section will address common questions about canning venison, ensuring you have all the information you need for success.
Troubleshooting Common Canning Issues
Even experienced canners can encounter issues. Knowing how to troubleshoot can help you avoid waste and ensure your canned venison remains safe to eat.
Identifying Spoilage in Canned Venison
Spoilage can occur if proper canning techniques are not followed. Be vigilant for the following signs:
- Bulging lids: This indicates that there may be gas buildup inside the jar, suggesting spoilage.
- Off odors: If you detect any foul smells when opening a jar, discard the contents immediately.
- Unusual colors: If the meat appears discolored or has developed an odd texture, it may not be safe to consume.
What to Do if Your Jars Don’t Seal
If your jars do not seal properly, don’t panic. Here’s what to do:
- Reprocess: If the seal hasn’t formed within 24 hours, you can reprocess the jar by removing the lid, checking for debris, and then resealing.
- Refrigerate: If you cannot reseal the jar, store it in the refrigerator and consume the contents within a few days.
Adjusting Processing Times for Altitude
Altitude affects canning times. If you live at a higher altitude, you may need to increase processing time. As a general rule, add 15 minutes for every 1,000 feet above 1,000 feet elevation. Always refer to trusted canning resources for specific guidelines based on your location.
With these answers and tips, you should feel more confident about canning venison. In the final part of this guide, we will summarize key points and provide additional resources for further learning.
Final Thoughts on Canning Venison
Canning venison is a rewarding and practical way to preserve this nutritious meat. With the right techniques and recipes, you can enjoy the flavors of venison throughout the year. Moreover, the sense of accomplishment you gain from canning at home is truly unmatched.
Recap of Key Points
To summarize, the primary steps for successful canning include:
- Preparation: Properly prepare and pack the venison into jars.
- Processing: Choose between pressure canning and hot water bath methods based on your equipment.
- Safety: Always follow safe canning practices to ensure quality and prevent spoilage.
- Storage: Store canned venison in a cool, dark place and check for seals regularly.
By adhering to these principles, you can ensure that your canned venison is safe, delicious, and ready for use in various meals.
Encouragement to Try Canning at Home
If you’ve never canned before, we encourage you to give it a try! The process can be enjoyable and, most importantly, empowering. Start with small batches and gradually increase as you become more comfortable. Whether you’re canning venison or other meats, the skills you develop will be invaluable in your kitchen.
Resources for Further Learning
To enhance your canning knowledge, consider exploring these resources:
Recommended Books on Canning
There are numerous books available that delve into the art of canning. Look for titles that focus on meat preservation or home canning techniques. These resources can provide valuable insights and new recipes to try.
Online Communities and Forums
Joining online canning communities can be an excellent way to learn from others. These platforms often share tips, techniques, and personal experiences, enriching your canning journey. Look for groups on social media or dedicated canning websites.
Canning Workshops and Classes
If you prefer hands-on learning, consider attending a canning workshop or class in your area. Many local extension services or community centers offer courses that cover canning fundamentals. This interactive approach can build your confidence and skills.
In conclusion, canning venison is not only a way to enjoy this lean meat throughout the year but also a step towards sustainable living. With the knowledge gained from this guide, you are well-equipped to embark on your canning journey. Enjoy the process, and savor the delicious results!
FAQ
Canning venison can raise many questions, especially for those new to the process. Below, we address some frequently asked questions to help you get started confidently.
Can You Raw Pack Venison for Canning?
Yes, you can raw pack venison, which means placing raw meat directly into jars without pre-cooking it. This method is convenient, but it’s essential to follow proper canning guidelines to ensure safety. Raw packing allows the meat to create its own juices during the canning process, resulting in tender, flavorful canned venison.
How Long Will Canned Venison Last?
When stored correctly, canned venison can last for several years. It’s important to keep the jars in a cool, dark place to maximize shelf life. While the USDA recommends consuming home-canned goods within one year for optimal quality, properly canned venison can remain safe to eat for up to three years or more. Always check for signs of spoilage, such as bulging lids, off odors, or unusual colors before consuming.
Do You Have to Add Salt to Canned Venison?
Adding salt to canned venison is not mandatory, but it enhances flavor and acts as a preservative. If you prefer to reduce sodium intake, you can omit the salt, but be aware that the flavor may be less robust. If you choose to add salt, a teaspoon per pint jar is a common recommendation, but feel free to adjust according to your taste preferences.
How to Can Venison in a Hot Water Bath?
Canning venison in a hot water bath requires careful attention to detail. Here’s a quick overview of the process:
– Prepare jars: Sterilize your jars and lids.
– Pack jars: Fill jars with prepared venison, leaving one inch of headspace.
– Add liquid: Pour in boiling water or broth until the jar is filled to the appropriate level.
– Seal jars: Place the lid and ring on each jar, ensuring a tight fit.
– Process: Submerge jars in boiling water for at least 90 minutes, adjusting for altitude if necessary.
– Cool: After processing, let the jars cool completely before checking the seals.
By following these steps, you can successfully can venison using the hot water bath method.


